Tutorial
-
How to Create Screen Accurate Lady Tremaine Jewelry
The project to recreate Lady Tremaine’s ballgown scene jewelry from 2015’s live-action Cinderella is, frankly, not for the faint at heart. But it is for the intrepid. Let’s dive right into it, shall we? First, let’s take stock of all the items that comprise Lady Tremaine’s jewelry set: necklace, earrings, two bracelets, ring, and feather hairpiece. That’s seven total pieces. Gosh she’s oustentatious! A vital important point that is quite pointy: The starbursts on all the pieces have 12 points, including the disks stacked upon each other. I’m assuming this was not just an aesthetic choice, but also to symbolize a clock. I mean, it could be happenstance, but Madam…
-
Making of Mother Gothel’s Cloak
I made this cape to go with a fan art version of the villain from Disney’s Tangled: Mother Gothel. For those who haven’t seen the movie, she wears a red dress and is sometimes featured wearing a dark blue/purplish cloak with a hood. I used McCalls 7886 to create the look. Read on to find out how I made the fabric and my review of the pattern. Pattern Description:Lined cape is gathered to neck band with hook and eye closure and has side arm openings and train. Hood is lined and has contrast ruffle. Purchased appliques. Pattern Sizing:XS – XL Did it look like the photo/drawing on the pattern envelope…
-
Making of Belle’s 1860-Inspired Bodice
Belle was a passion project of mine. After seeing the Cinderella’s dress in the 2015 live-action movie, I instantly knew that cut was meant for Belle. From the Basque waist to the bertha, this was not Cinderella’s dress. I sat and I waited, not confident in my skills to create such a gown. Then, five years later, I got the gumption to attempt the “Beast.” First I needed a design that was my own that I could love for my lifetime as I will never make her again. Going to the drawing board, I took inspiration from Cinderella, but I wasn’t in love with the relatively plain organza bertha. I…
-
Demystifying the Single Welt Pocket: A Sewing Tutorial
The single welt pocket is a staple of business attire, commonly found on blazers, pants, and the occasional dress or skirt. Differing from a patch pocket, the single welt pocket is a pocket inside your garment, with a strip of fabric covering the pocket opening on the outside of the garment. While there are many ways to go about welt pockets, this tutorial covers the basic insertion of a single welt pocket with step-by-step instructions that are clarified with pictures. Once mastered, this easy technique, though somewhat time-consuming (it will take about an hour), will add a touch of elegance to your garments. Materials NeededFabrics: Garment fabric, pocket bag fabric…
-
How to Sew a Smooth Scalloped Hem
I made a wrap skirt from a UFO dress from 2017 (pattern is lost and I didn’t have some of the pieces anymore). Wanting to not be plain Jane about it, I decided to do a scalloped edge on the overlapping piece to add even more visual interest to an already punchy skirt. So if you wanted to make something with a scallop edge, I got you covered. Here’s how you do so: Interface the edge of the fashion fabric you are going to scallop. (I also serged, this is not necessary though) 2. Draw your scallops! I took a candle and used that to trace to make my scallops…
-
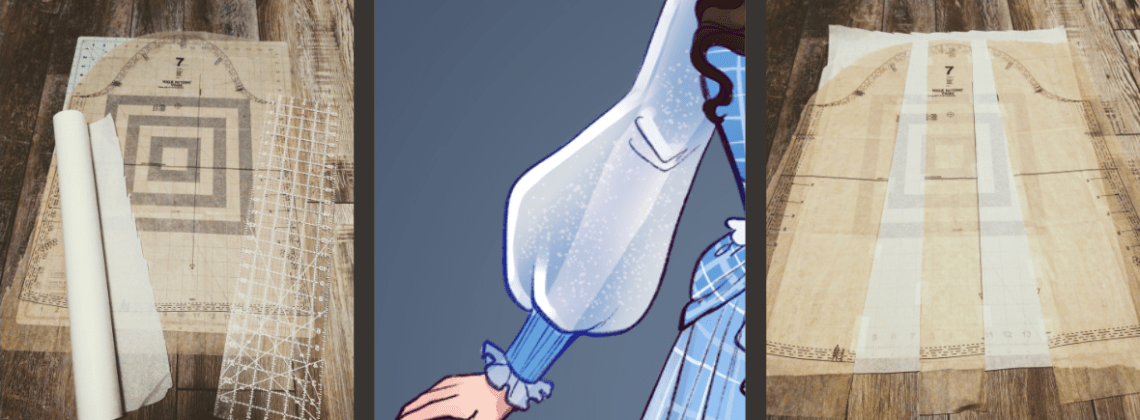
Science of Sewing: Enlarging a Sleeve
Enlarging a sleeve is something I have to do all the time! I don’t have the pencil arms patterns seem to think are normal, so I am constantly redoing the sleeves. I helps that I love a gathered sleeve head, that makes it even easier to alter. I’m working on a project that requires a rather fluffy sleeve. Having found no such pattern, I decided to make my own using an existing pattern as a base to alter to match. Note that there is some loft in the sleeve head – I’m interpreting that to be gathering. The forearm of the sleeve is also much wider than the bicep, so…
-
Altering an Unflattering Dress
When I originally bought this dress from Ann Taylor, I didn’t inspect the fit as well as I should have. Totally my fault, I fell in love with the stripes and the shirtdress style combined, so I was blinded to the issues that were quite apparent that made the dress rather unflattering. While not too terrible, there were some serious issues. Circled in blue is the waist seam actually level. To do this, I had to pin up the back on the dress form otherwise it would sag in the back (highly improper for my body type unless it there is an empire in the front). This lead to a…
-
Science of Sewing: Creating Custom Striped Fabric
I fell in love with this fashion plate and knew I had to make it into Captain America. But the problem was the striped skirt, I didn’t want the stripes falling into the seamlines and creating chevrons. Instead I decided to make my own stripes and sew them on to recreate the look. This was my process for getting crisp, clean, and even stripes all around the skirt. Step One: Tear taffeta into 2″ strips. Yes, tear. Silk taffeta tears evenly on grain, creating perfect strips of fabric that you didn’t have to cut meticulously. It takes near zero time to do in comparison to cutting. Step Two: Grab handy…
-
Fraying Seams? Here are 7 Ways to Sew a Seam that Never Frays!
Fraying seams are the worst. They’re scratchy and uncomfortable, they can leave threads hanging out from under you clothes, but worst of all, they can be unstable, cutting the life of your garment to nothing in a flash. Here a few different ways to finish a seam that will increase the longevity of your garment and put an end to unseemly seams! Basic Straight Stitch Seam The simplest way to finish a seam is to sew a parallel stitch to the seam to keep the raw edge from fraying. To do this, sew your seam with the seam allowance instructed by your pattern. Then sew the selvage of your seam…
-
Handy guide to the most common sewing machine stitches
Today’s post is all about the basic and common stitches you’ll need to learn to make your costumes! These stitches are found on almost every machine these days, so get ready for the 12 most useful stitches. (Note: though your machine may not have the exact stitch pattern, there is going to be something close. Check your manual for a description of the stitch to map the below to your machine’s stitches. Stitches 1 & 2 Straight Stitch & Stretch Triple Straight Stitch Straight Stitch: For seaming and topstitching, you absolute most common stitch. Stretch Triple Straight Stitch: Reinforced seams and topstitching. Stitch 3 Zig Zag Stitch Reinforce seams, finish…